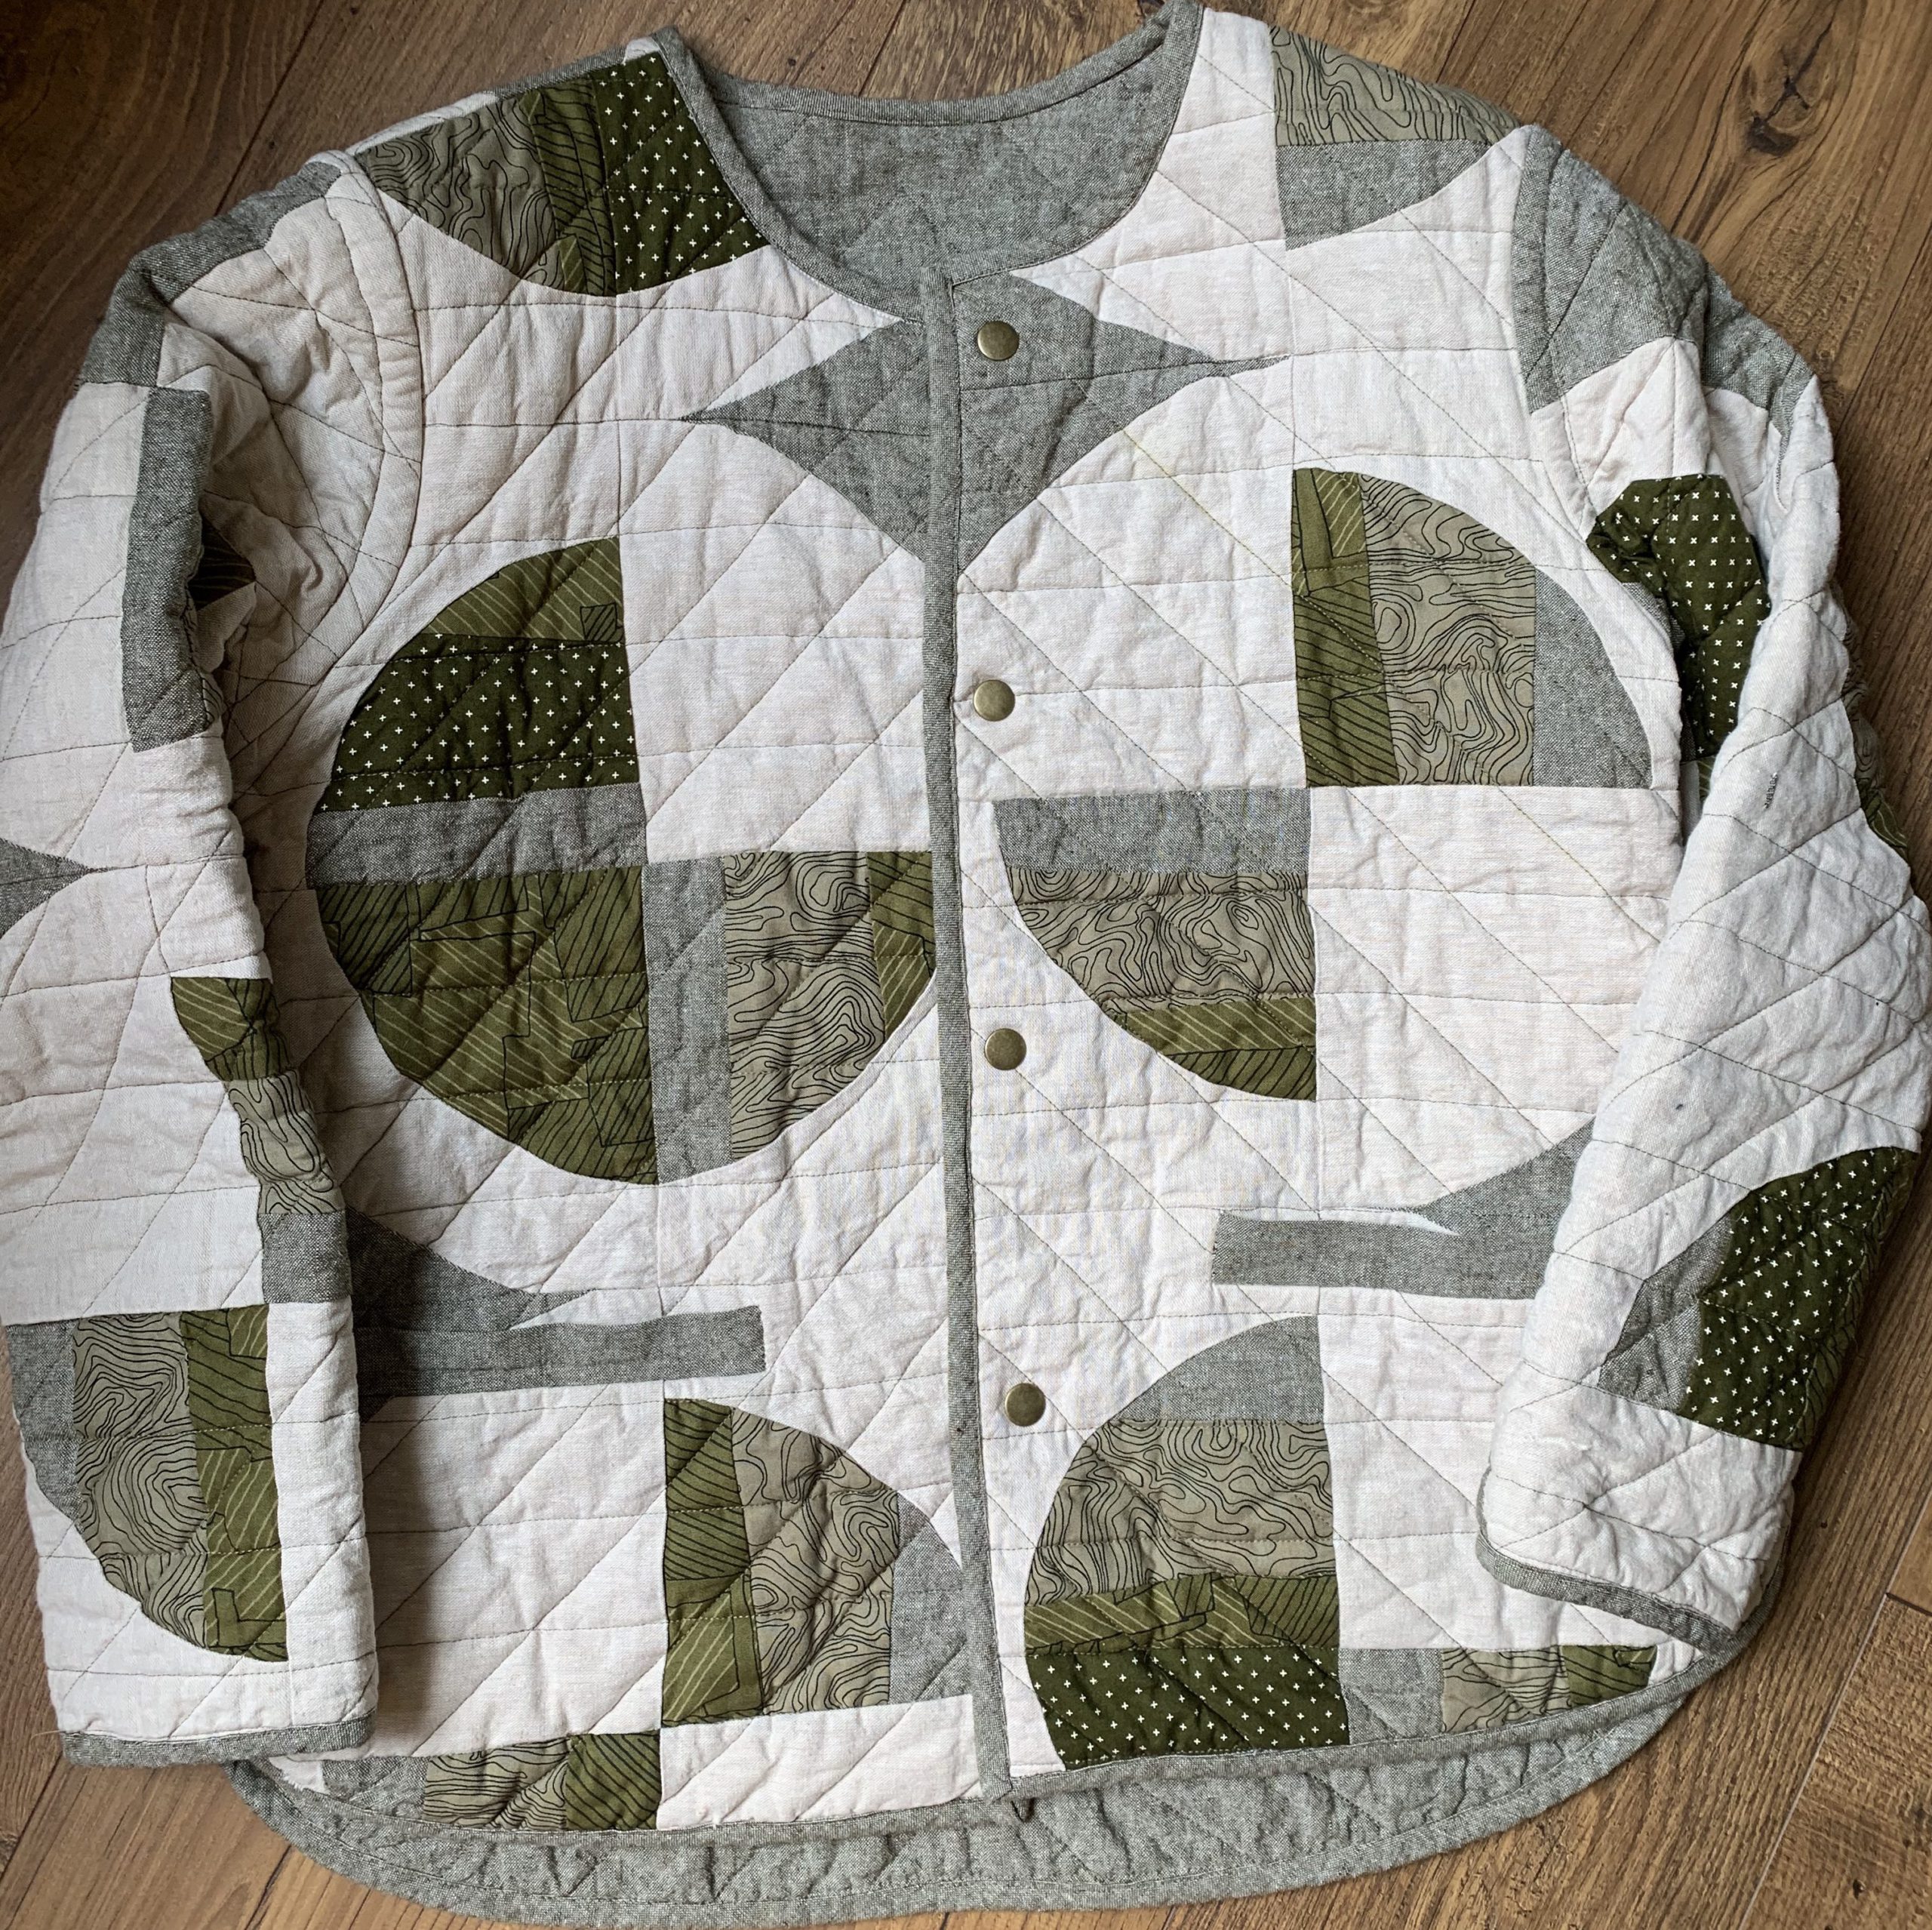

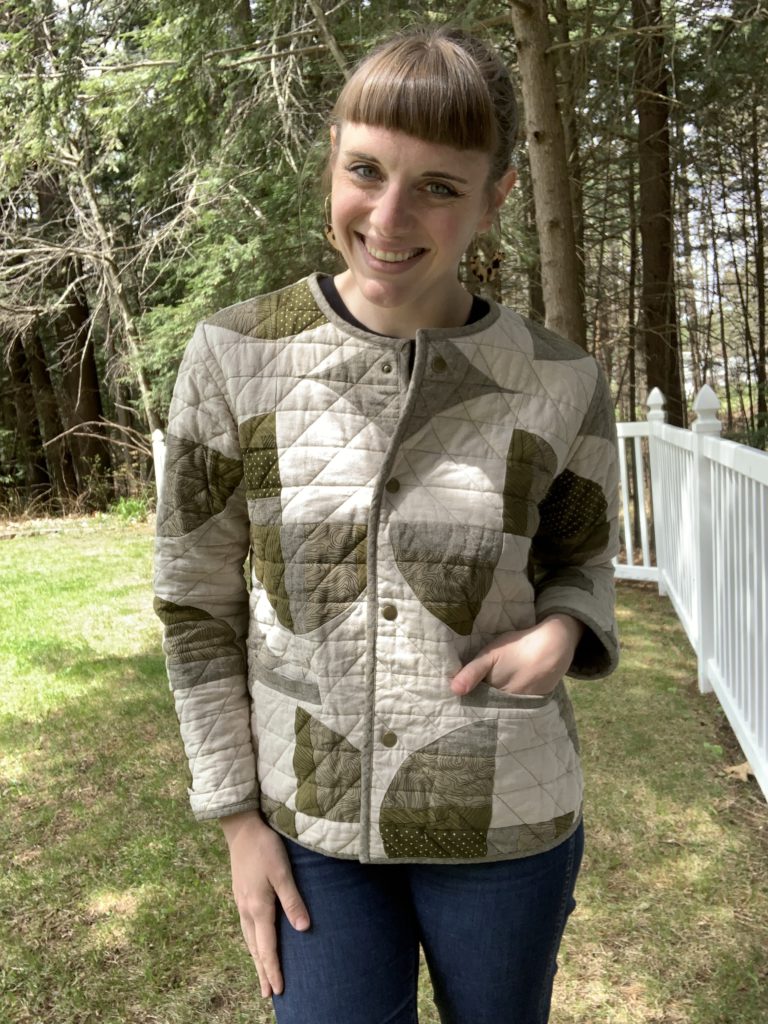
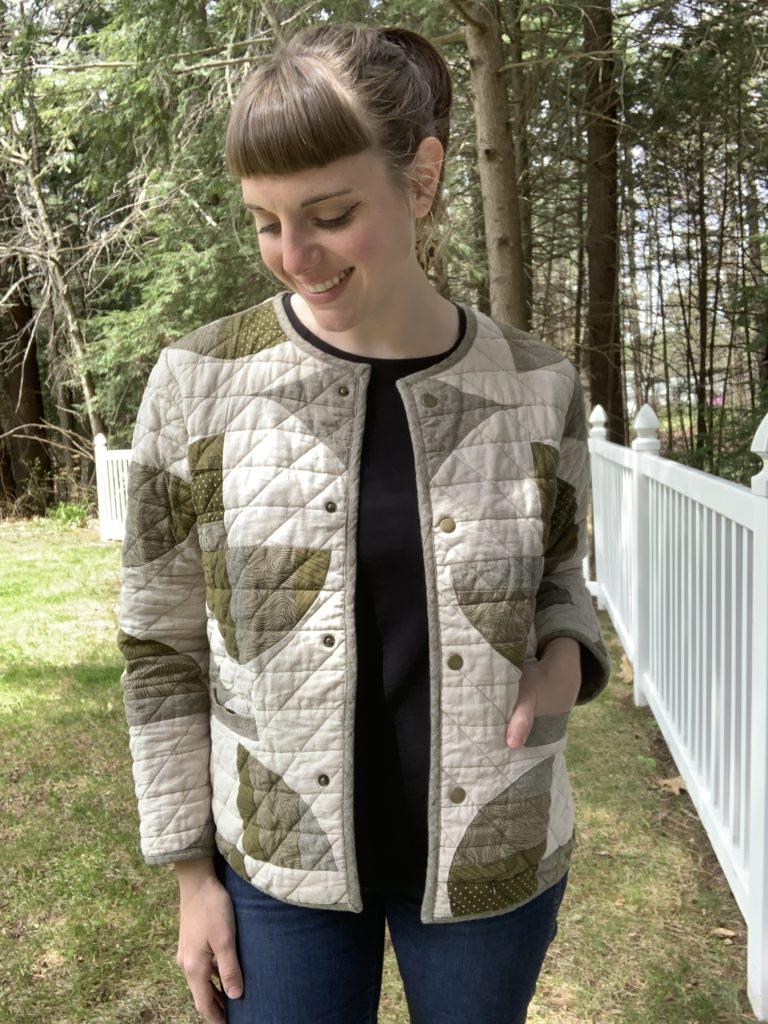
When COVID hit the US and many of us shifted to working from home I got an idea. I was working from my sewing room. My computer was setup right next to my sewing machine. I wanted an involved, slow sewing project to keep me occupied while I couldn’t leave the house. I decided to make a Grainline Studio Tamarack Jacket but also make a quilt top for the exterior to make it extra special.
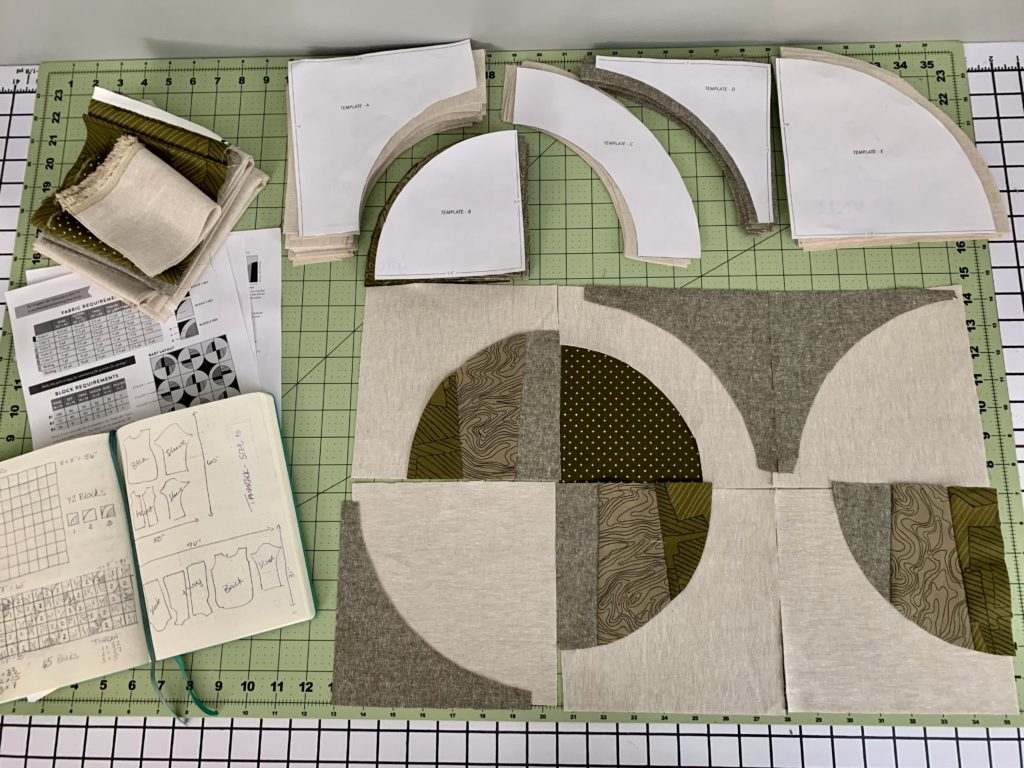
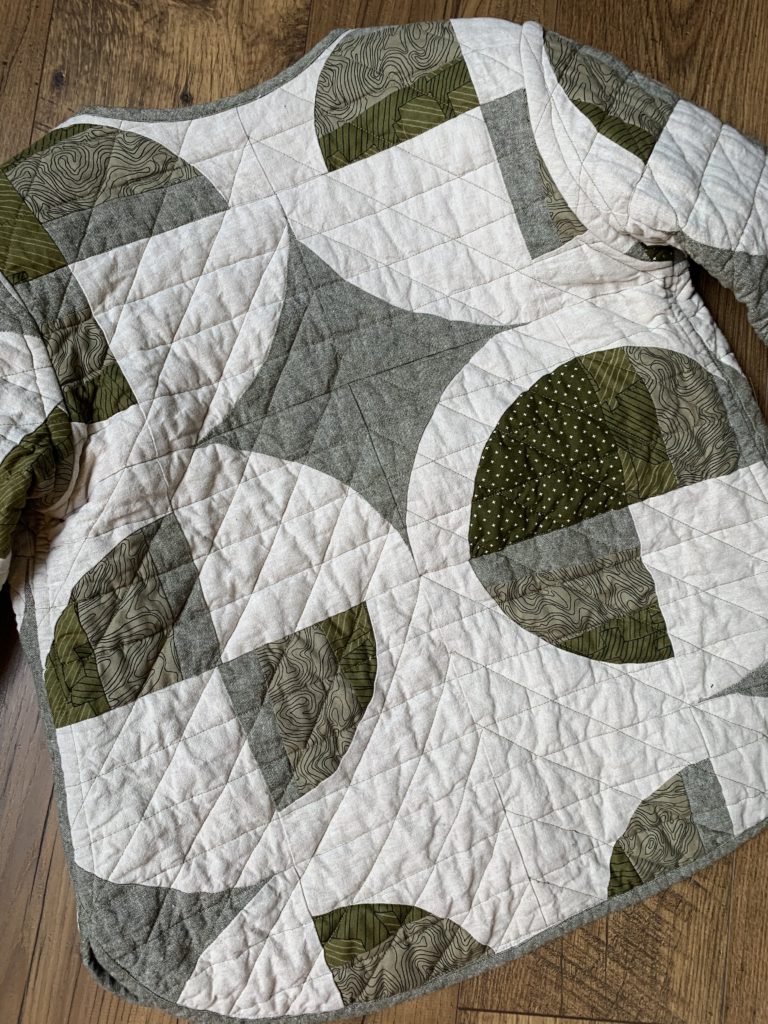
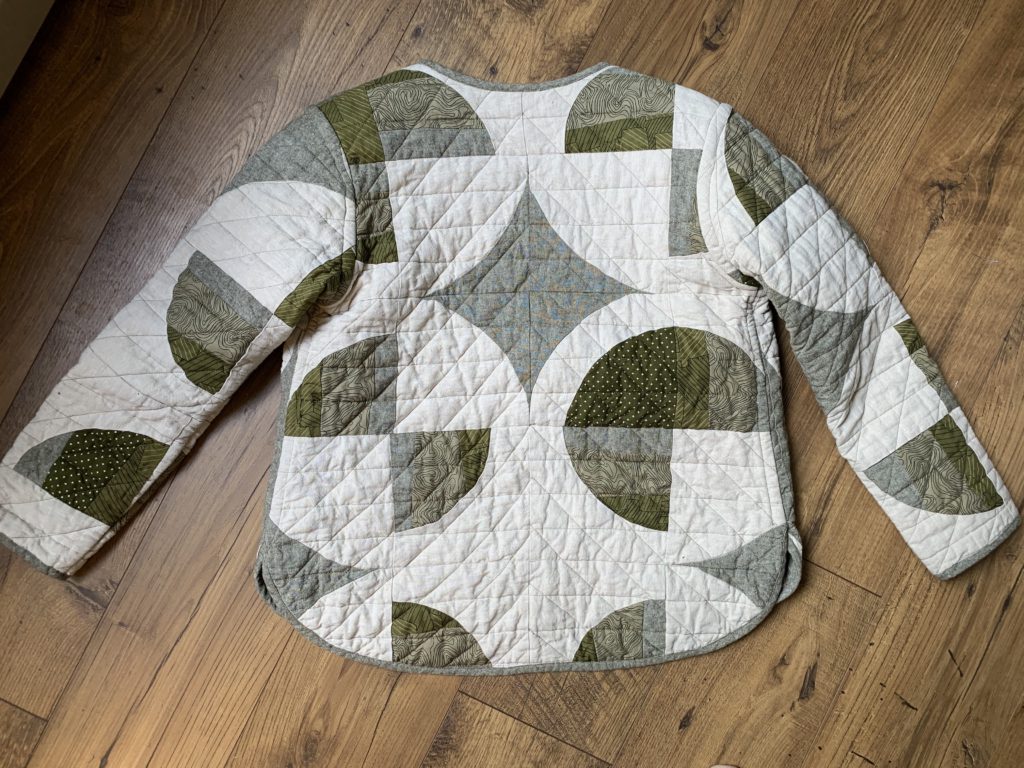
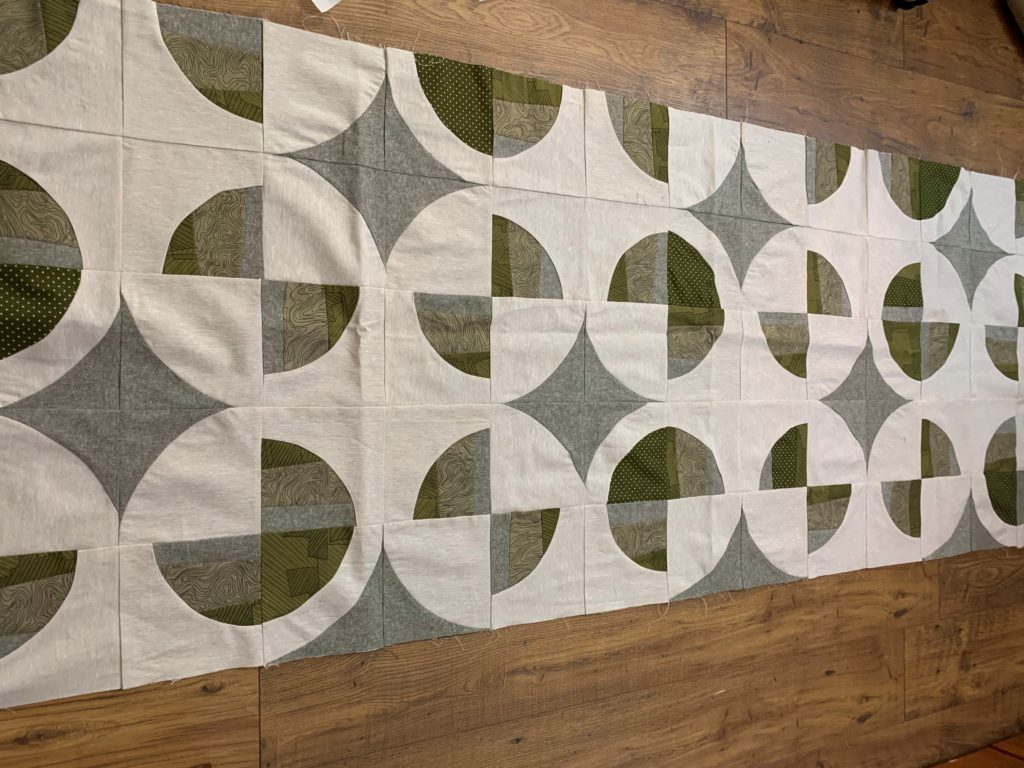
I started with the pattern for the Modern Fans Quilt by Suzy Quilts and lots of planning. I laid out all of the paper pattern pieces for the jacket, measured to see how big my quilt top would need to be, and calculated how many blocks I would need. My bullet journal came in really handy for this; it let me sketch until I was confident that I knew how many blocks I would need and how much of each fabric I should buy.
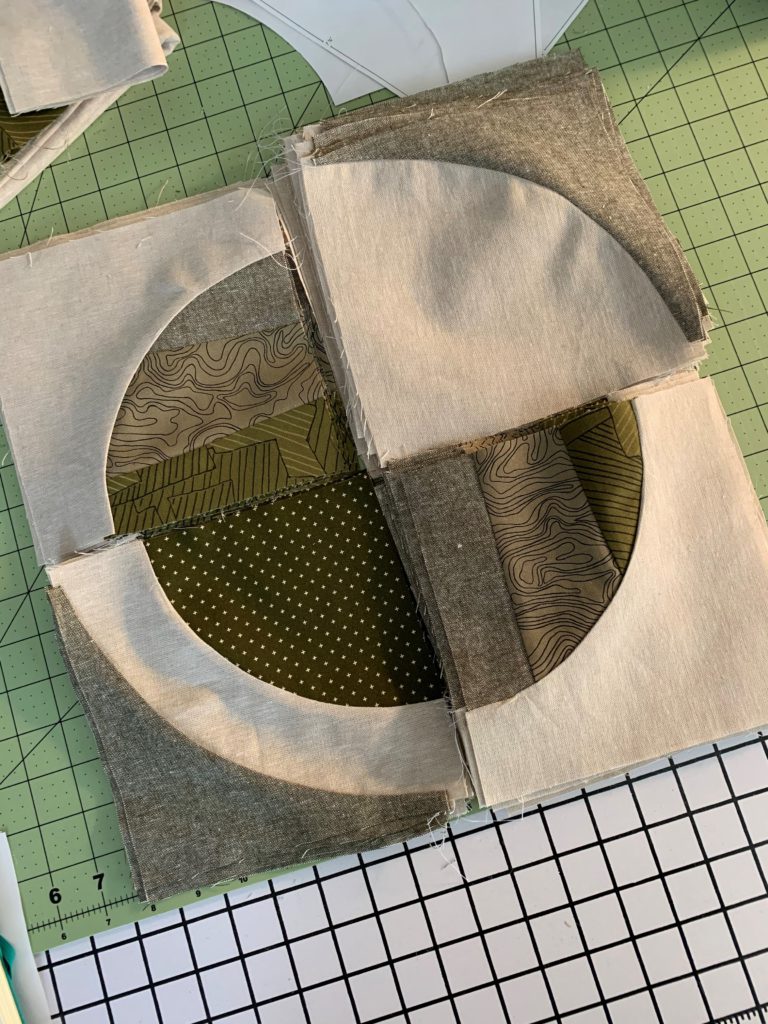
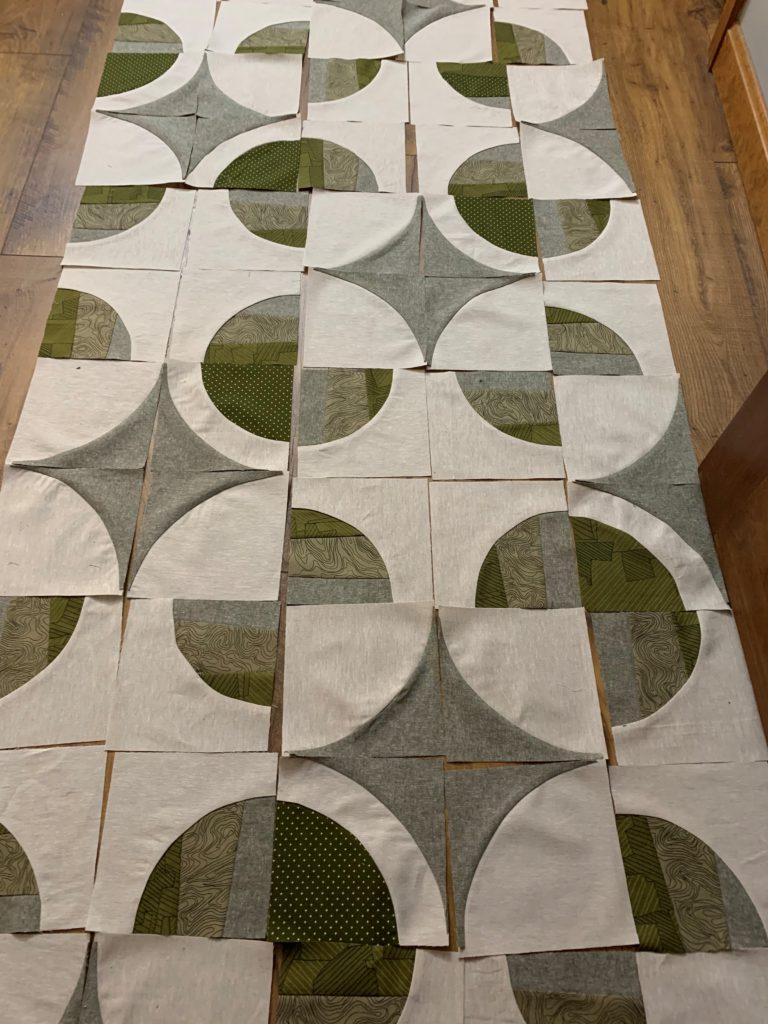
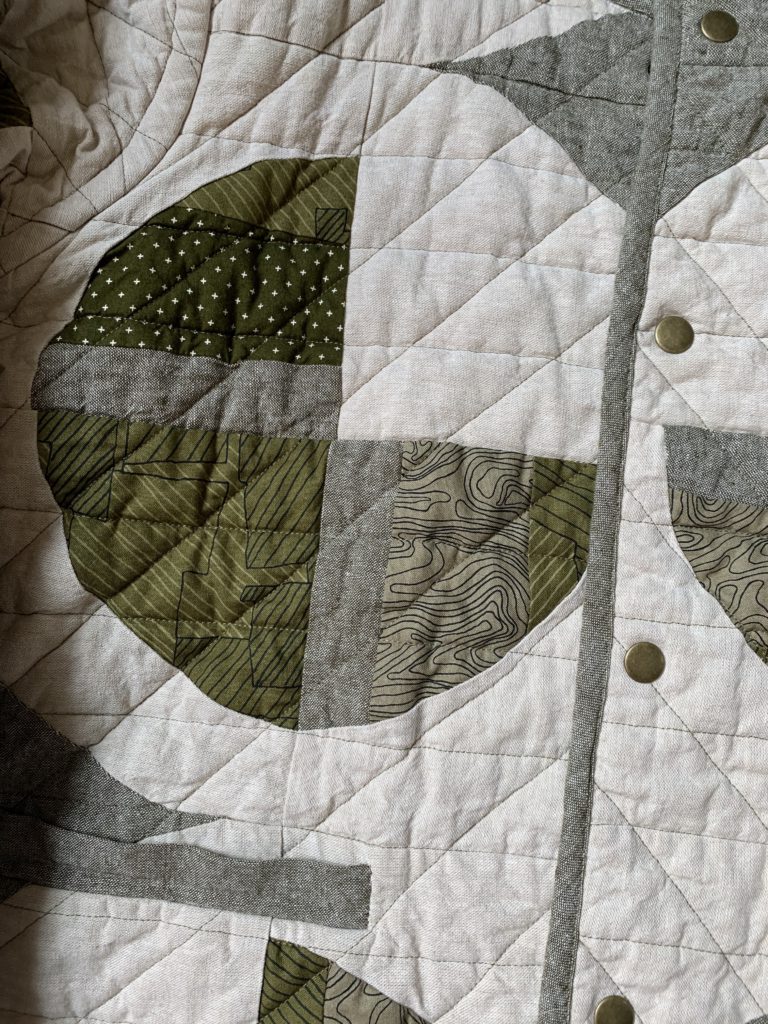
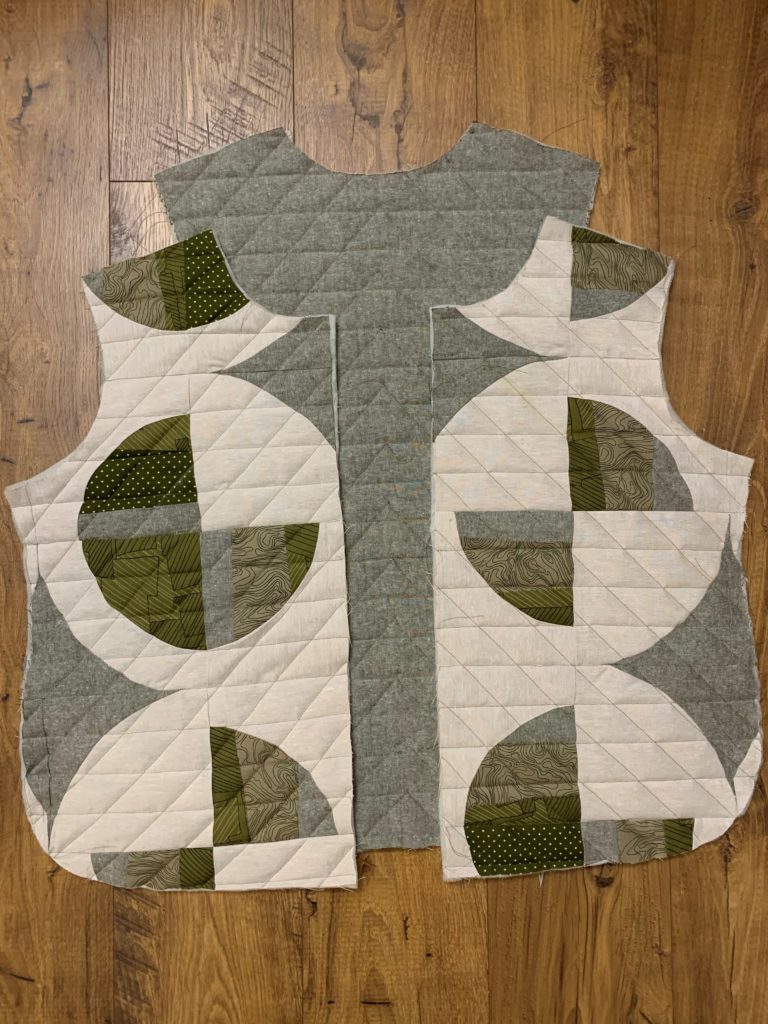
I used a combination of Essex linen (the solids) and quilting cottons (the patterns) for this jacket. Once the quilt top was assembled, I cut the jacket pieces from it, wool batting, and solid green Essex linen, which I used as the back.
Before I started sewing the pieces together, I quilted them using a straight horizontal line and another line on the bias. I played around with different quilting methods on some of the off-cuts until I was happy with how they looked both with the pattern and on the solid side.
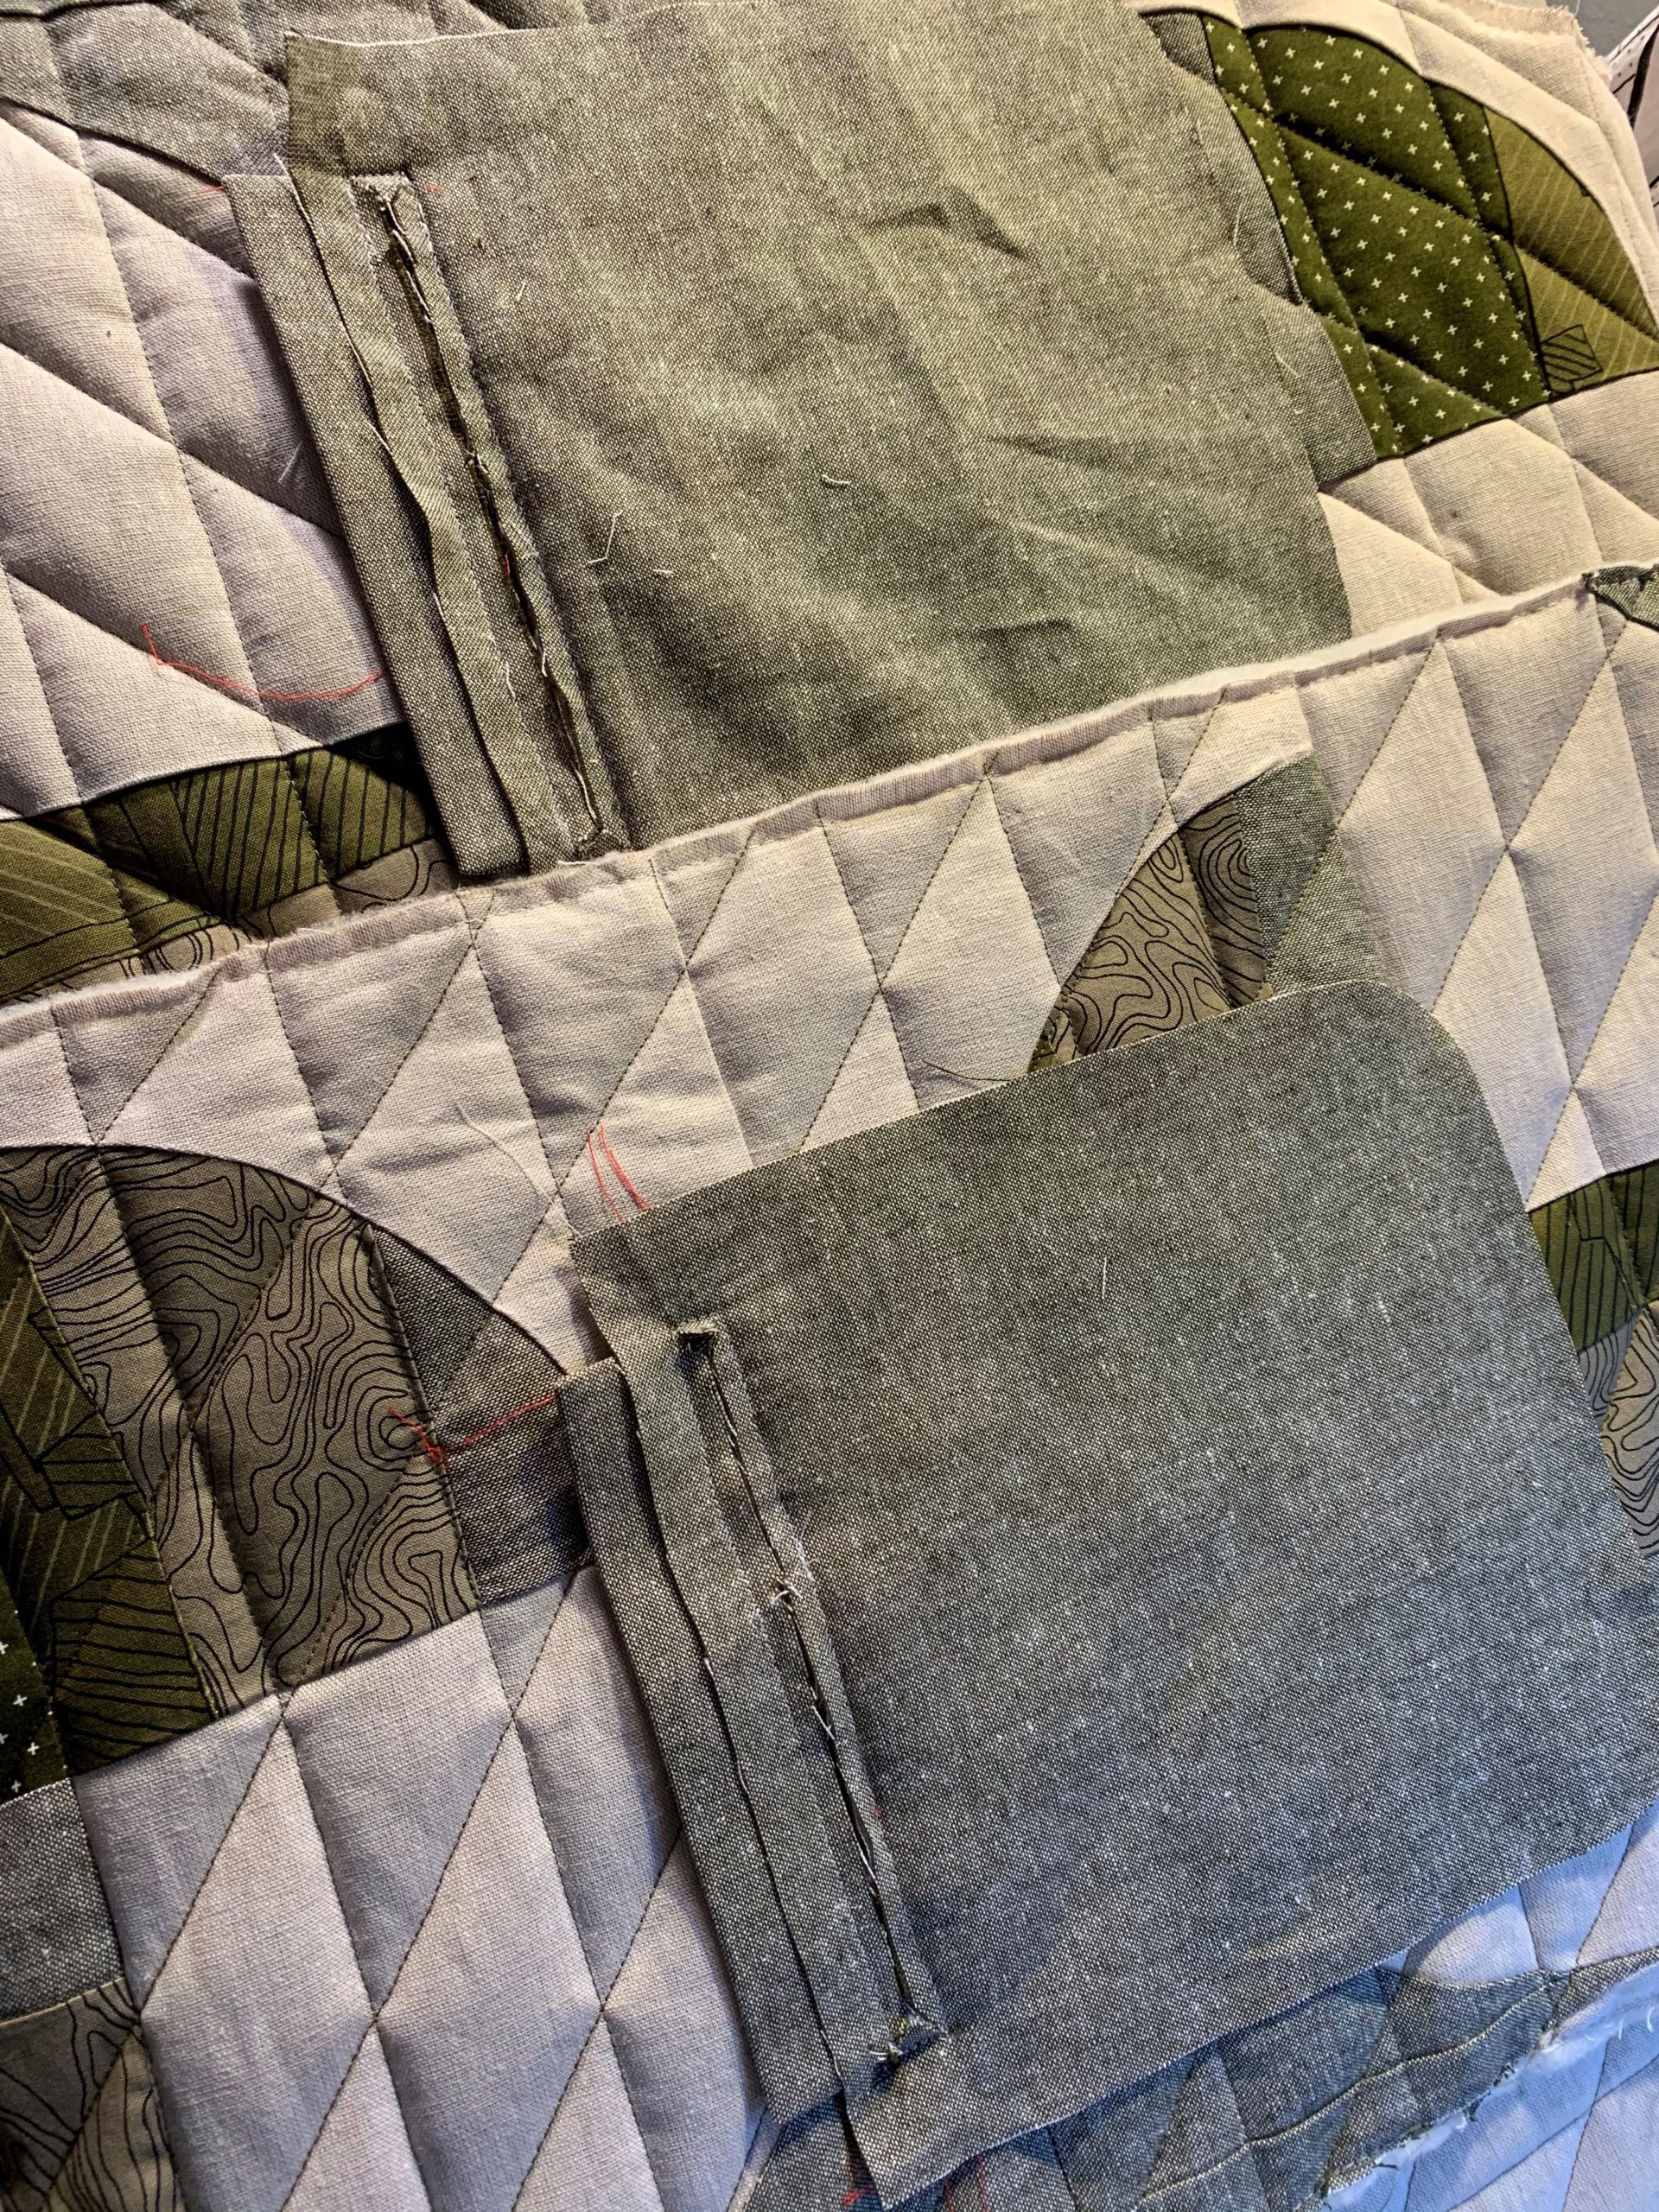
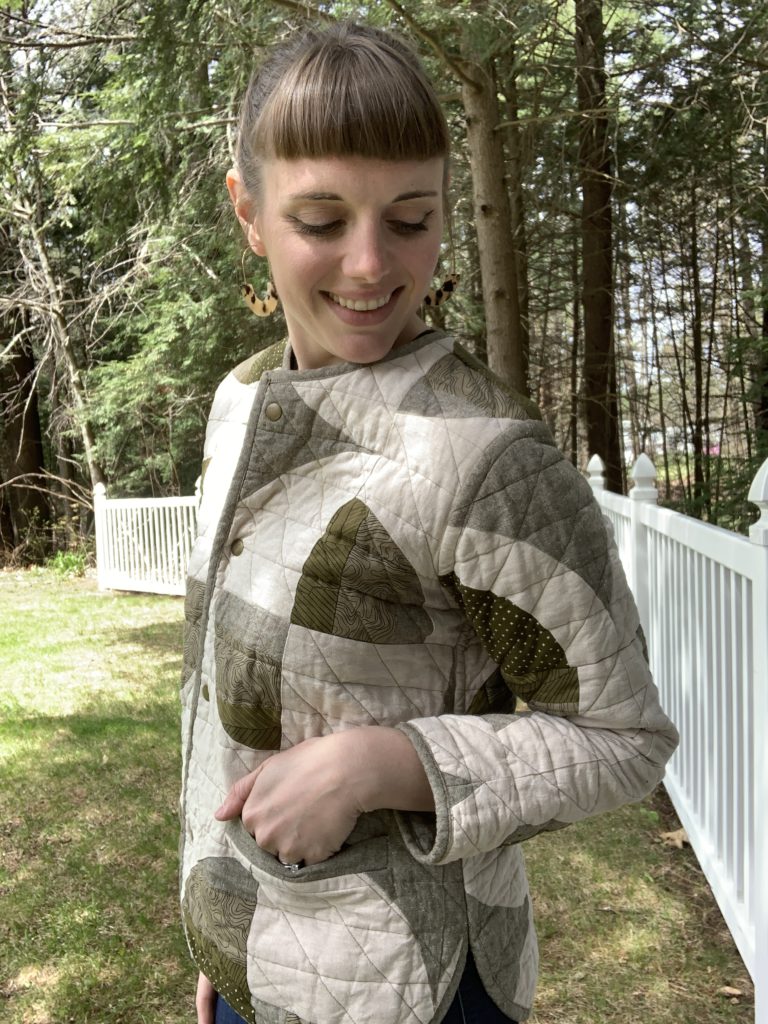
I wanted to make this jacket fully reversible so that I had the option to wear it with the patterned or solid side out. (Although I have yet to reverse it because I love the patterned side so much!) In order to do this, I needed to think about the welt pockets. I love a good welt pocket, so I didn’t want to replace it with a patch pocket to make the jacket reversible. Instead, I sewed the welt pocket as the pattern recommends, then hand stitched the pocket bag to the inside of the jacket. I then attached a patch pocket over the welt pocket bag by hand, so that the stitching wouldn’t be visible from the patterned side of the jacket.
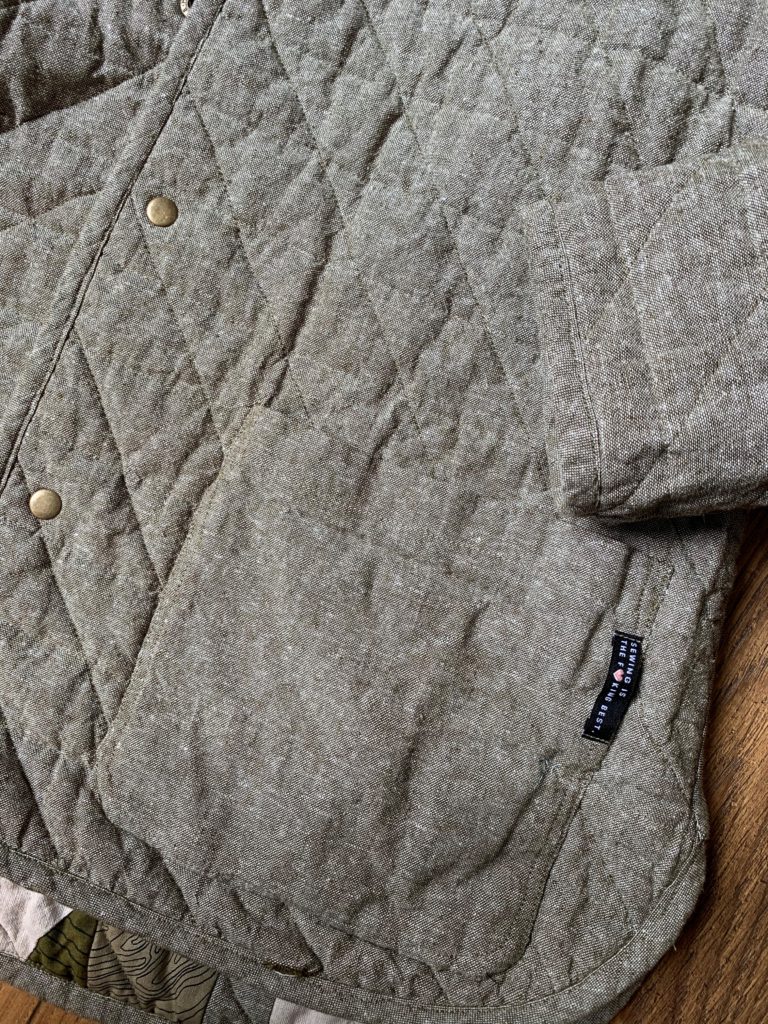
In order to make the jacket reversible, I needed to think about how to finish the seams. Simply bias binding the seams would leave the seam free, which is fine on the inside of the jacket, but I didn’t want it to be free on the outside. To make these lay flat, I combined a bias bound seam with a flat felled seam and stitched the seams down. This gave an extra line of stitching on the other side of the jacket, but it blends in with the quilting lines. The only place I couldn’t make this work was at the underarm at the top of the sleeve. I ended up hand stitching the seam down there where I couldn’t fit my sewing machine.
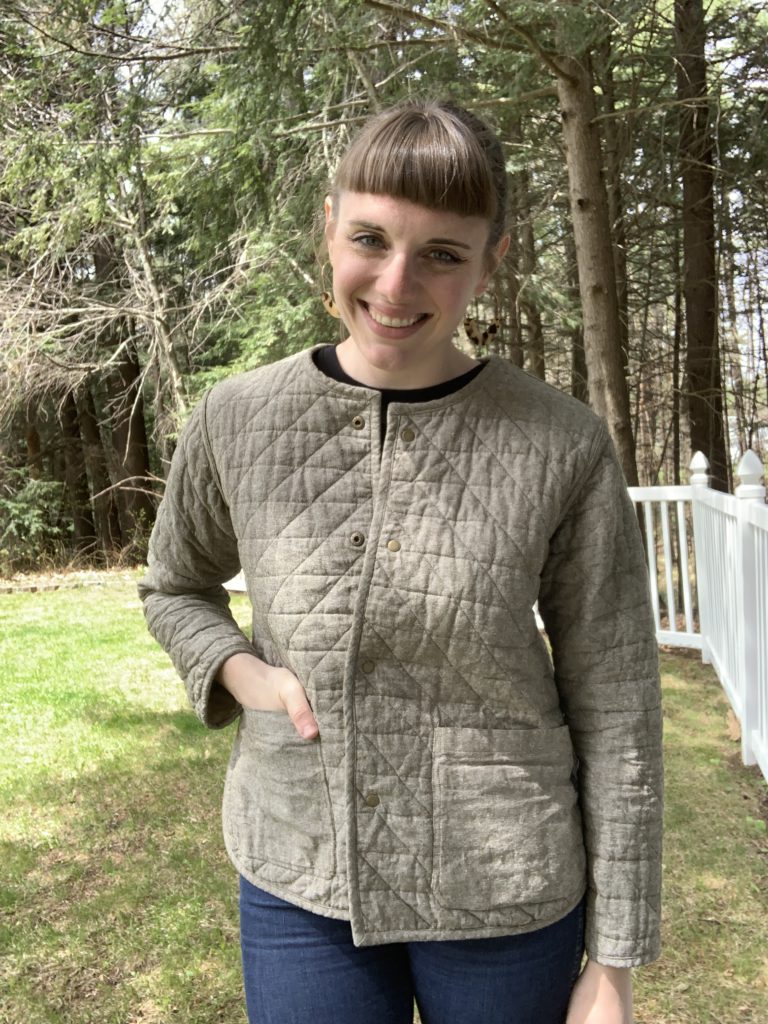
The last step of the process was to install snaps. I ran into an issue where I was shipped the wrong snaps multiple times, so this step took forever. After I finally go the correct snaps, the application was pretty easy! I used a double capped spring snap so that both sides looked like the “right” side.
This was a really fun project to work on and I wear this jacket all the time. I definitely can see myself working on another big project like this soon!